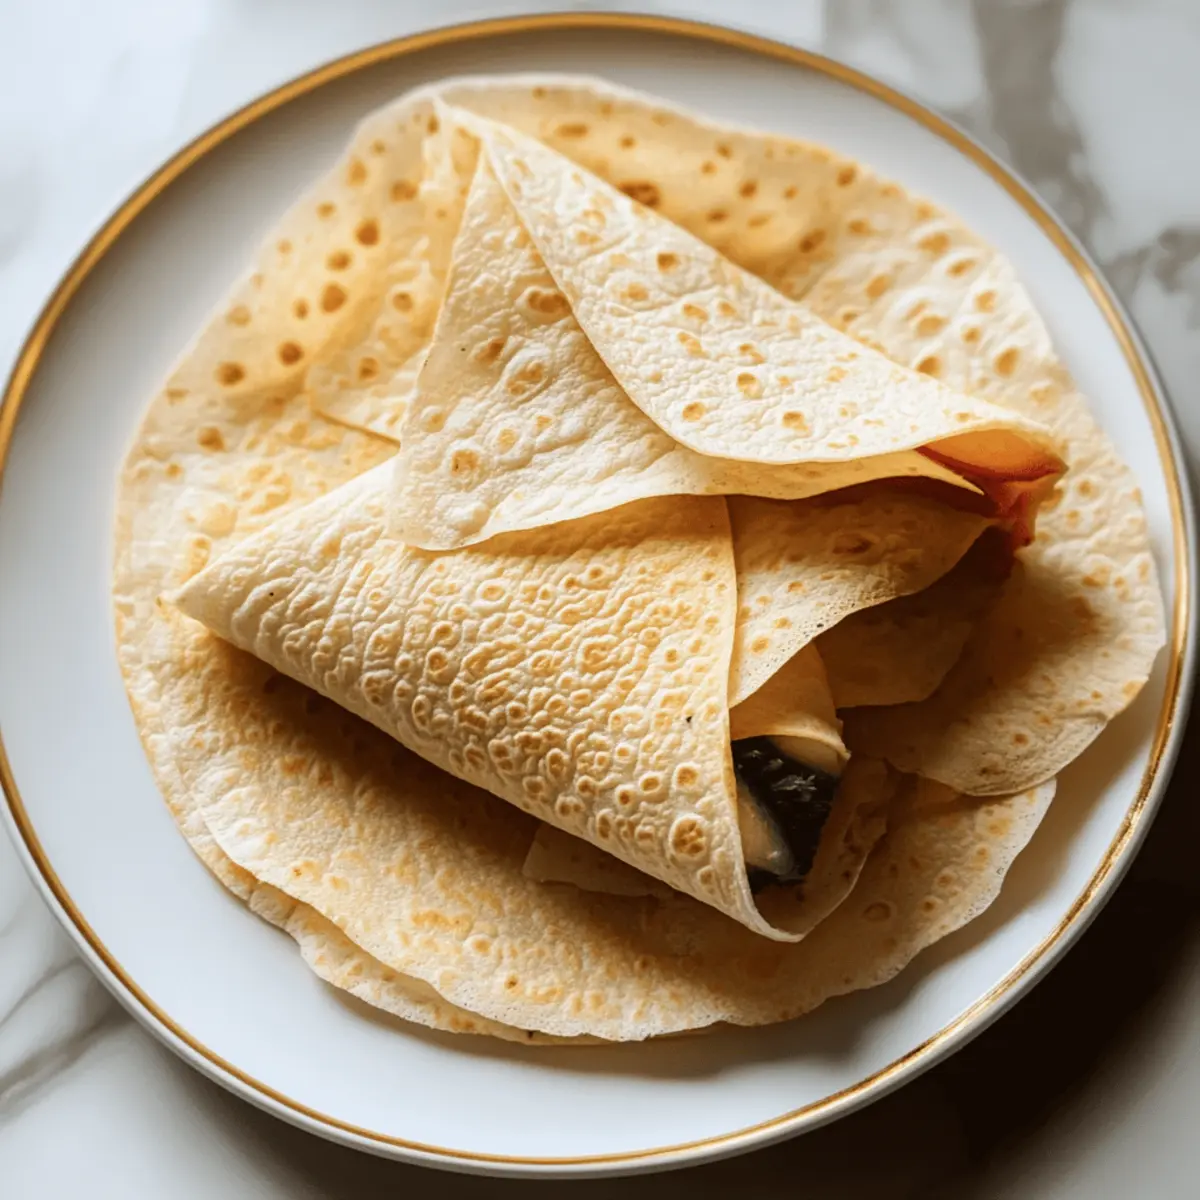
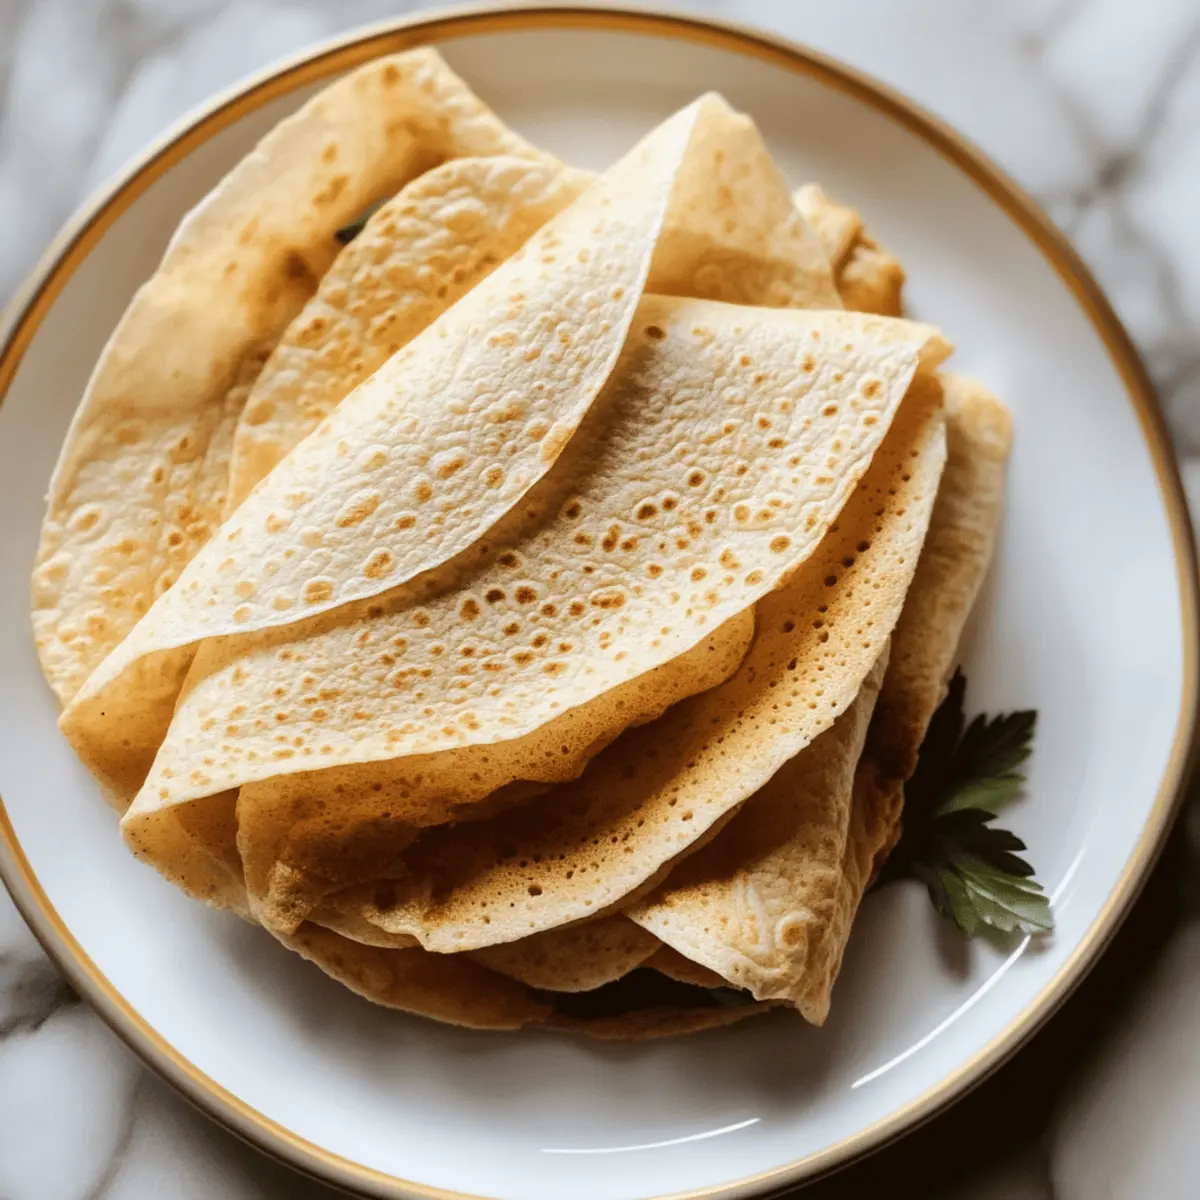
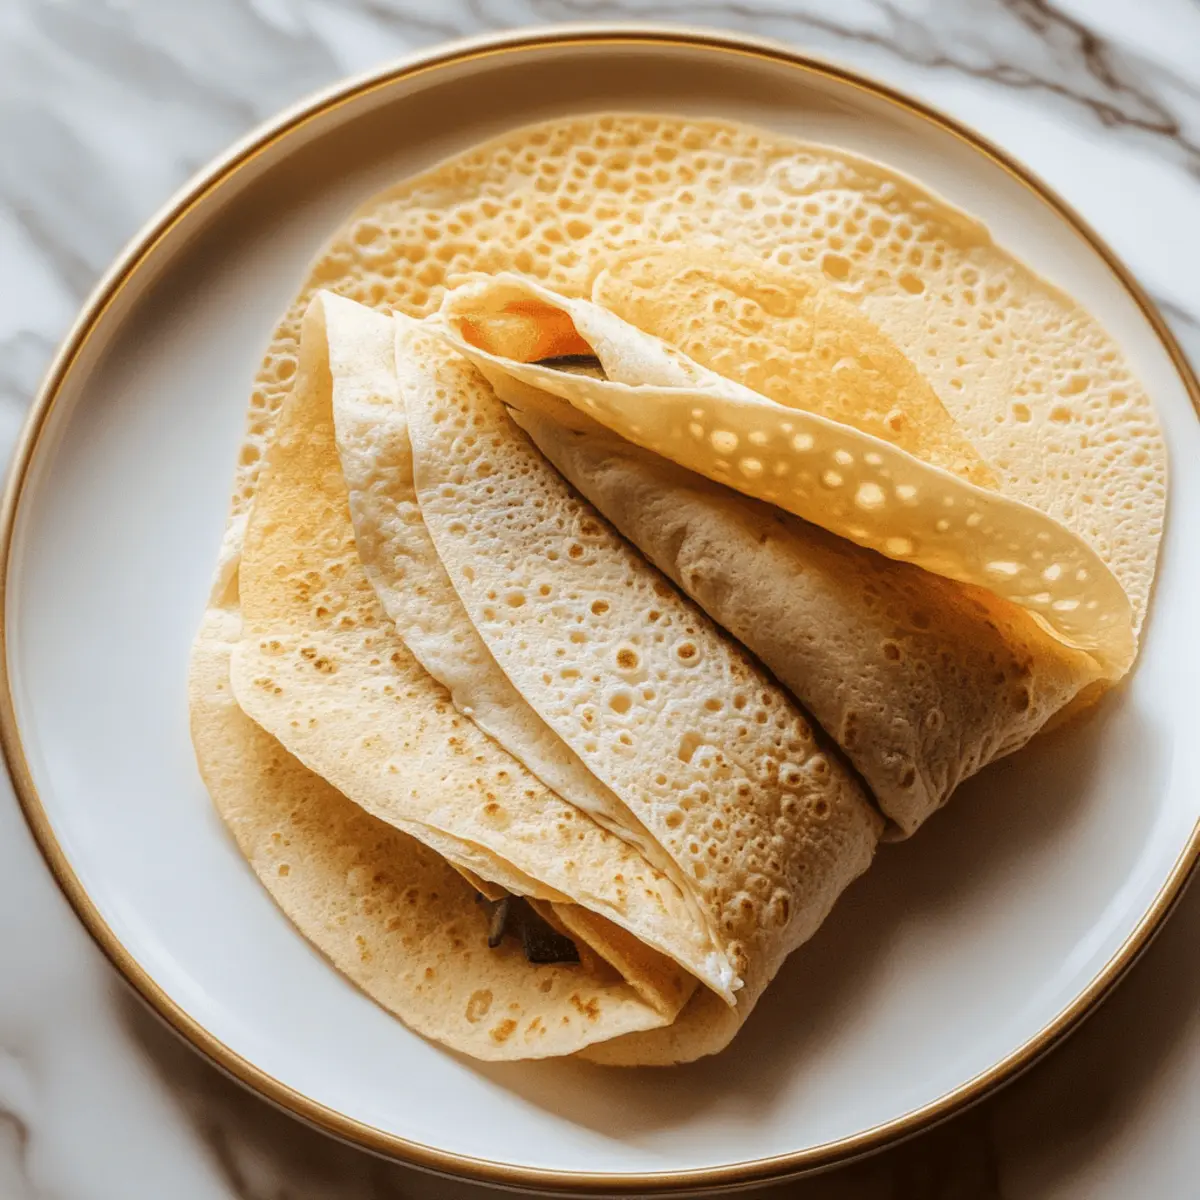
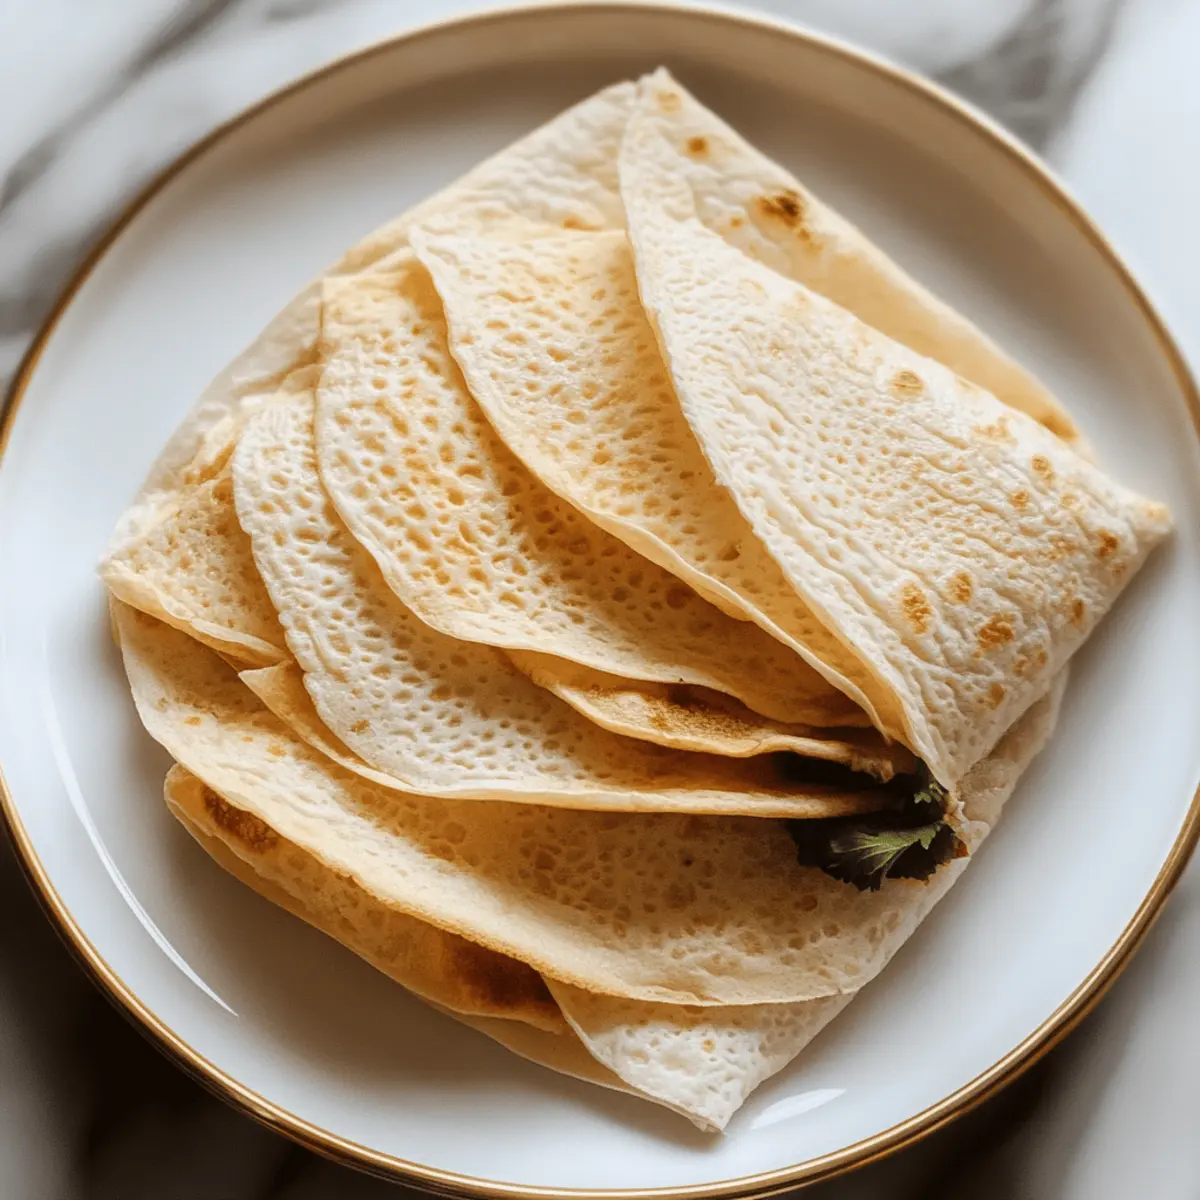
Have you ever found yourself staring into the fridge, wondering what quick and healthy snack you can whip up? Enter my 2-Ingredient Cottage Cheese Wraps, a game changer for anyone who craves a low-carb, high-protein option without the fuss. With just cottage cheese and eggs, you can create a versatile wrap that acts as a blank canvas for your favorite fillings—perfect for a busy lunch or a delightful snack. These wraps are not only super simple to make, but they also keep you satisfied and energized, all while being gluten-free! So, what unique filling will you try to roll up in your first wrap? Let’s dive into this effortless recipe!

Why are Cottage Cheese Wraps a Must-Try?
Simplicity: With just two ingredients, these wraps are incredibly quick and easy to prepare—perfect for busy schedules!
Healthy Twist: Low-carb and high-protein, they fit seamlessly into many dietary lifestyles, including keto and gluten-free diets.
Versatility: Use them as a blank canvas for various fillings, from savory grilled chicken to sweet breakfast burritos, allowing endless creativity in the kitchen.
Flavorful Base: The mild taste of cottage cheese pairs wonderfully with any ingredient, enhancing your favorite flavors without overpowering them.
Meal Prep Friendly: Make a batch ahead of time and store them for quick, nutritious meals all week long—ideal for those on the go!
Why not serve your Cottage Cheese Wraps with a side of hummus or a salad for an extra boost? If you’re looking for more delicious options, check out my Lemon Cream Cheese or Churro Cheesecake Indulge recipes!
Cottage Cheese Wrap Ingredients
• Make your wraps irresistible with just two simple ingredients!
For the Wraps
- Cottage Cheese – This creamy base adds moisture and a wealth of protein; non-dairy substitutes will yield a different texture.
- Eggs – The secret to the wrap’s structure, ensuring they hold together nicely during cooking.
Add your favorite fillings to these delightful Cottage Cheese Wraps for a nutritious snack or meal!
Step‑by‑Step Instructions for Cottage Cheese Wraps
Step 1: Blend the Ingredients
In a blender, combine 1 cup of cottage cheese and 2 large eggs. Blend on high for 20-30 seconds until the mixture is completely smooth, resembling a thick batter. This step ensures a uniform consistency for your Cottage Cheese Wraps, setting the stage for a delightful texture once cooked.
Step 2: Prepare the Cooking Surface
Heat a nonstick skillet over medium heat and lightly spray it with cooking oil. Begin to preheat the skillet for about 2-3 minutes until it’s hot but not smoking. A properly heated pan is crucial for achieving that perfect golden exterior on your wraps while preventing sticking.
Step 3: Cook the First Wrap
Pour half of the batter (about 1/2 cup) into the skillet, tilting the pan gently to spread the mixture evenly, creating a thin layer akin to a crepe. Let it cook undisturbed for 3-4 minutes, or until the edges begin to lift and the surface appears dry, indicating it’s ready for flipping.
Step 4: Flip and Finish Cooking
Carefully turn the wrap over using a spatula, cooking the other side for an additional 1-2 minutes until it turns lightly golden. Keep an eye on it to avoid burning; the ideal wrap will be firm yet pliable, ready to hold your favorite fillings when cooled.
Step 5: Cool the Wraps
Once cooked, gently transfer the wrap to a plate and allow it to cool for 2-3 minutes. This cooling time is essential for the wrap to set properly and makes it easier to handle. Repeat the process with the remaining batter, ensuring each wrap is coated evenly and cooked thoroughly.
Step 6: Serve Your Delicious Wraps
Your Cottage Cheese Wraps are now ready to fill! Use them as you would traditional tortillas—fill, roll, or fold with your favorite ingredients. Whether you enjoy savory options like grilled chicken and veggies or sweet treats, these wraps provide a nutritious, low-carb canvas for your culinary creativity.

Make Ahead Options
These 2-Ingredient Cottage Cheese Wraps are perfect for meal prep enthusiasts! You can mix the batter (1 cup of cottage cheese and 2 large eggs) up to 24 hours in advance, storing it in the fridge to enhance flavors. The wraps themselves can be cooked and refrigerated for up to 3 days, making them a fantastic option for quick lunches or snacks. Just make sure to cool the wraps completely before stacking them with parchment paper to prevent sticking. When you’re ready to enjoy, simply reheat them gently in a nonstick skillet or microwave, and watch them become just as delicious and versatile as freshly made!
What to Serve with 2-Ingredient Cottage Cheese Wraps
Looking to elevate your Cottage Cheese Wraps into a complete meal? Here are some delicious pairing ideas that will take your dining experience to the next level!
- Fresh Garden Salad: Add a crisp salad with mixed greens, tomatoes, and cucumbers for a refreshing crunch that complements the soft wraps.
- Savory Hummus: Spread flavorful hummus inside the wraps or serve it on the side for a delightful, creamy dip.
- Grilled Vegetables: Smoky, charred veggies enhance the wraps’ mild flavor, giving you a satisfying side full of nutrients.
- Zesty Guacamole: This creamy avocado dip not only elevates taste but also provides healthy fats to keep you satiated.
- Sliced Avocado: Rich, buttery avocado slices add a velvety texture that pairs beautifully with the wraps, creating a comforting bite.
- Herbed Greek Yogurt Sauce: A tangy sauce made with Greek yogurt and fresh herbs can add brightness and flavor to your wraps.
- Roasted Chicken Strips: Tender strips of grilled or roasted chicken add a heartiness, making your wraps an even more fulfilling meal.
- Crispy Bacon Bits: For a more indulgent treat, crispy bacon bits can add a delightful crunch and rich flavor that complements everything.
- Sparkling Water or Iced Tea: Refreshing beverages like sparkling water or lightly sweetened iced tea cleanse the palate and enhance your meal experience.
- Fruit Salad or Yogurt Parfait: Finish your meal with a light fruit salad or parfait for a sweet, healthy dessert option that balances the savory wraps.
Expert Tips for Cottage Cheese Wraps
-
Don’t Overblend: Keep an eye on your blending time; overblending can turn the mixture too runny, making fragile wraps.
-
Perfect Skillet Temperature: Ensure the skillet is at the right medium heat; too hot can burn the wraps, while too cool can lead to sticking.
-
Cooling Time Matters: Allow wraps to cool slightly before filling to prevent sogginess; hot wraps filled immediately will lose their structure.
-
Creative Fillings: Explore unique ingredients for your Cottage Cheese Wraps, from savory roasted vegetables to sweet fruits and nut butter for variety.
-
Storing Safely: When stacking cooked wraps, place parchment paper between them before refrigerating to avoid sticking and ensure freshness.
Storage Tips for Cottage Cheese Wraps
-
Fridge: Store your cooked Cottage Cheese Wraps in an airtight container for up to 4 days. Layer parchment paper between the wraps to prevent sticking.
-
Freezer: For longer storage, freeze the wraps stacked with parchment paper for up to 2 months. Thaw in the refrigerator before reheating.
-
Reheating: Reheat gently in a pan over low heat or in the microwave until warmed through. Avoid overheating to maintain their soft texture.
-
Make-Ahead: You can prepare a batch ahead of time, making these wraps a convenient and nutritious option for quick meals anytime!
Variations & Substitutions for Cottage Cheese Wraps
Customize your Cottage Cheese Wraps with these inventive ideas that will awaken your taste buds!
-
Herbed Delight: Mix in fresh or dried herbs like basil or oregano into the batter for a fragrant twist. It elevates the flavor and pairs beautifully with chicken or veggie fillings!
-
Spiced Up: Add a pinch of chili powder or crushed red pepper flakes to the batter for a little kick. Just a small addition can transform your wraps into spicy bites, perfect for adventurous eaters!
-
Veggie Boost: Incorporate finely grated zucchini or carrot into the batter for added nutrients and a pop of color. Not only do these veggies add moisture, but they also provide an extra crunch and earthiness.
-
Cheesy Goodness: Fold in shredded cheese when blending for a richer texture and flavor. Cheddar or mozzarella works wonders here! Think of the melty goodness you can wrap around your favorite ingredients.
-
Sweet Option: For a breakfast wrap, mix in a dash of cinnamon and a splash of vanilla extract. These sweet wraps are perfect for filling with yogurt and fresh fruits, giving you a delightful morning treat!
-
Dairy-Free: Swap cottage cheese with blended silken tofu for a dairy-free option. Just be aware that this may alter the overall flavor and texture slightly, but it remains delicious!
-
Nutty Twist: Add a tablespoon of almond or peanut butter to the batter for a nutty flavor. This will lend a creamy richness that’s delightful when stuffed with sliced bananas or berries.
Feel inspired to experiment and share your unique creations! If you love these wraps, you might also enjoy my Blueberry Cream Cheese or make a cozy meal with Tomato Bisque with Grilled Cheese. Let’s get creative in the kitchen!

Cottage Cheese Wraps Recipe FAQs
What type of cottage cheese should I use for the wraps?
Absolutely, for the best results, opt for a smooth cottage cheese without large curds. This allows the wraps to maintain a uniform consistency when blended. Additionally, low-fat or full-fat varieties work well, but non-dairy substitutes like blended silken tofu may differ in texture and flavor.
How should I store leftover Cottage Cheese Wraps?
Store your cooked Cottage Cheese Wraps in an airtight container in the fridge for up to 4 days. It’s a good idea to place parchment paper between the wraps to prevent them from sticking together, ensuring they’ll be easy to separate when you’re ready to enjoy them again.
Can I freeze Cottage Cheese Wraps?
Absolutely! To freeze your wraps, stack them with sheets of parchment paper in between each layer to prevent sticking. Use a freezer-safe container or wrap them in plastic wrap, and they can be stored for up to 2 months. When you’re ready to enjoy them, simply thaw in the refrigerator overnight before reheating.
What can I do if my wraps are sticking to the skillet?
If you find your wraps are sticking, make sure your skillet is properly preheated and well-greased with cooking spray or a bit of oil. If they’re still sticking, it might be worth trying a nonstick pan, or reducing the heat slightly to prevent browning too quickly—this ensures they cook evenly without adhering to the surface.
Can I customize the flavor of my Cottage Cheese Wraps?
Very much so! You can incorporate herbs and spices into the batter before blending. For instance, adding garlic powder, onion powder, or fresh spinach puree can elevate the flavor profile. Just remember to adjust ingredients to maintain the right balance of wet and dry elements in your batter.
Are Cottage Cheese Wraps suitable for people with gluten allergies?
Yes, indeed! These Cottage Cheese Wraps are naturally gluten-free, making them a fantastic option for anyone avoiding gluten in their diet. They are a healthy alternative to traditional wraps, perfect for filling with your favorite ingredients while maintaining dietary restrictions.

Delicious Cottage Cheese Wraps: Quick, Low-Carb Delight
Ingredients
Equipment
Method
- In a blender, combine 1 cup of cottage cheese and 2 large eggs. Blend on high for 20-30 seconds until the mixture is completely smooth.
- Heat a nonstick skillet over medium heat and lightly spray it with cooking oil, preheating for about 2-3 minutes.
- Pour half of the batter (about 1/2 cup) into the skillet and tilt the pan gently to spread the mixture evenly. Cook for 3-4 minutes until edges lift and surface appears dry.
- Carefully turn the wrap over using a spatula, cooking the other side for 1-2 minutes until lightly golden.
- Transfer the wrap to a plate and allow it to cool for 2-3 minutes. Repeat with remaining batter.
- Fill, roll, or fold your wraps with your favorite ingredients.

Leave a Reply