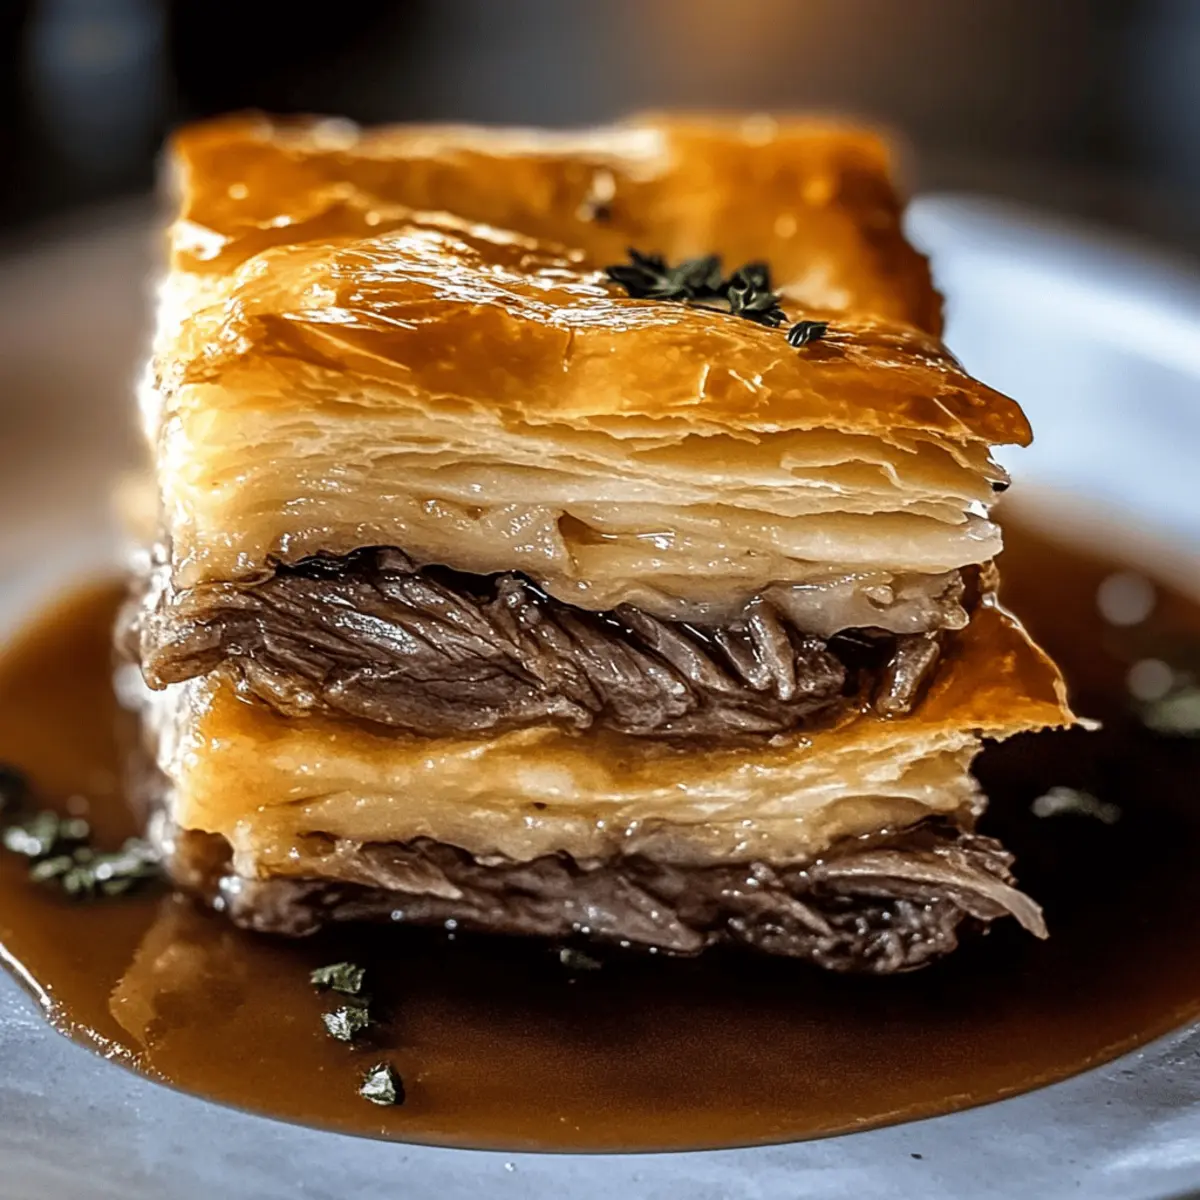
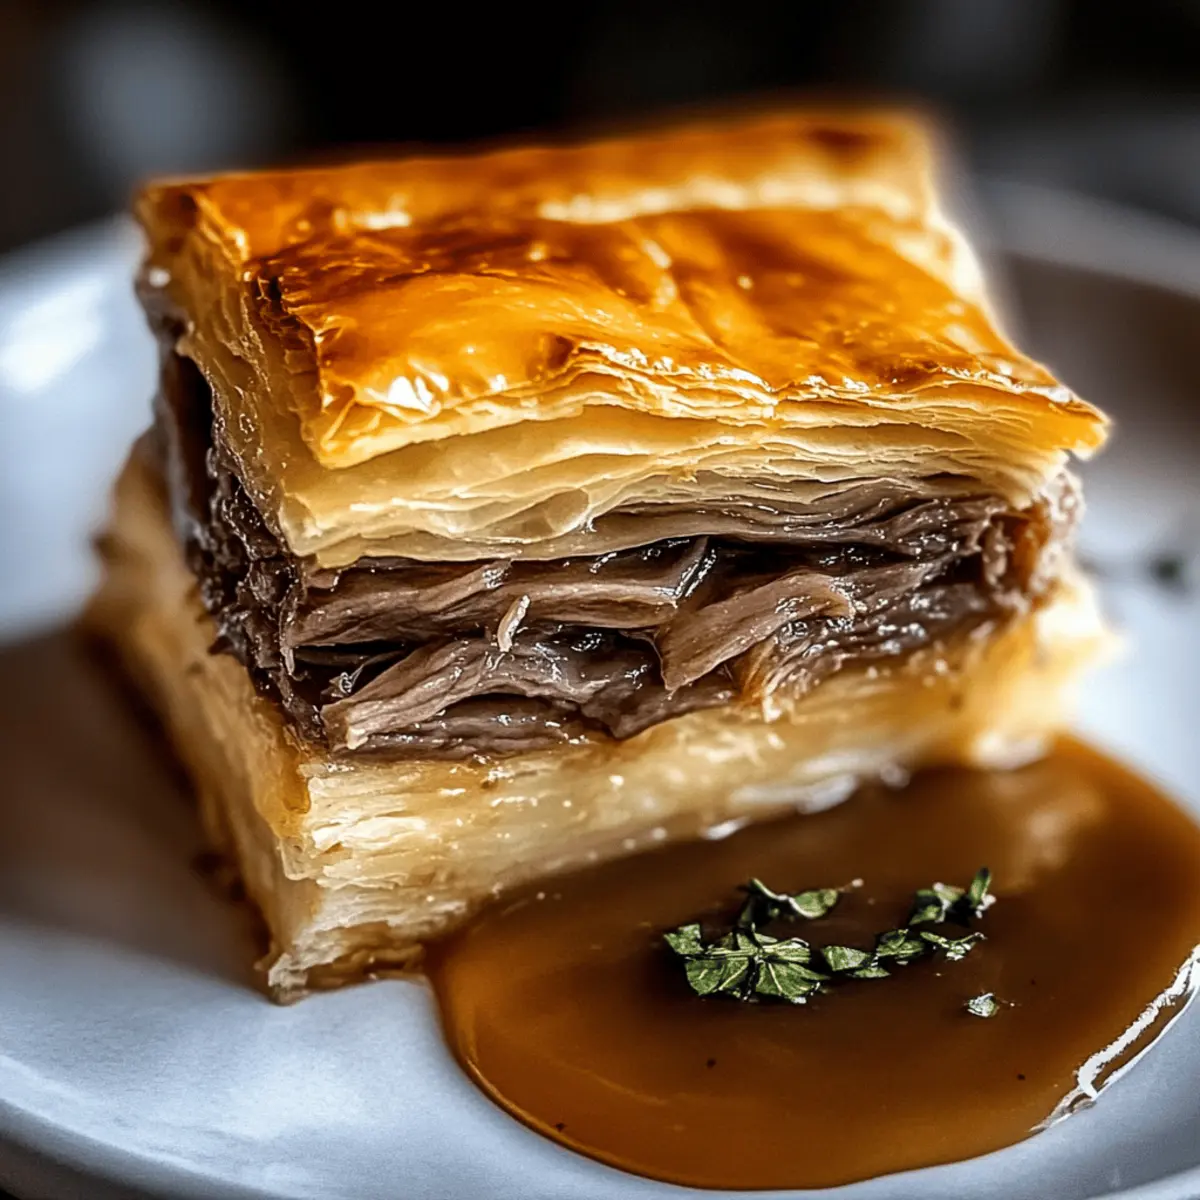
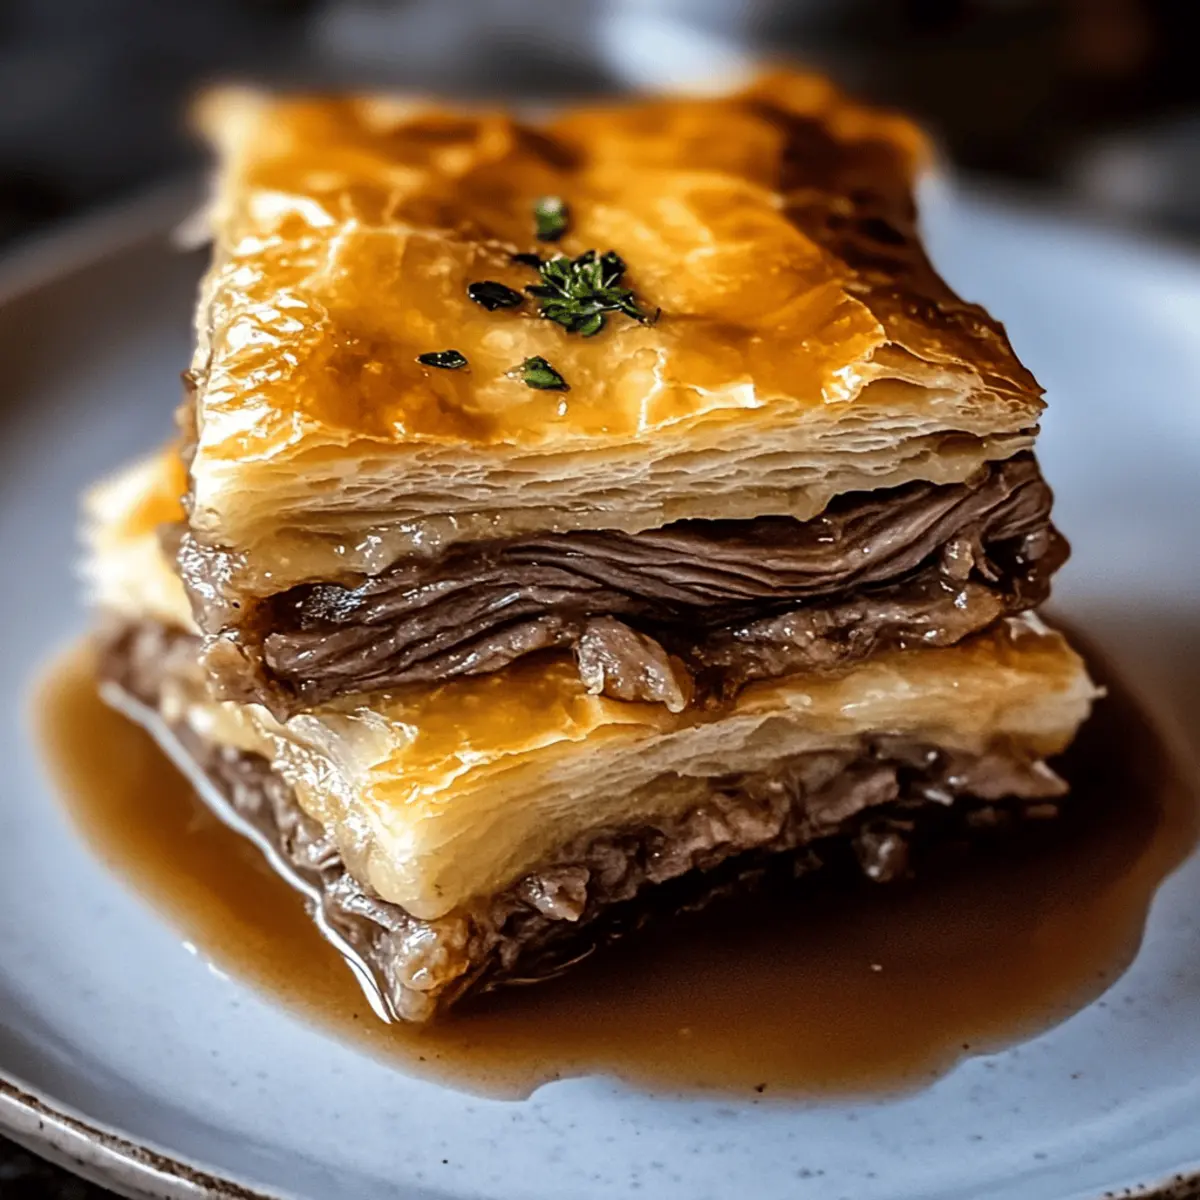
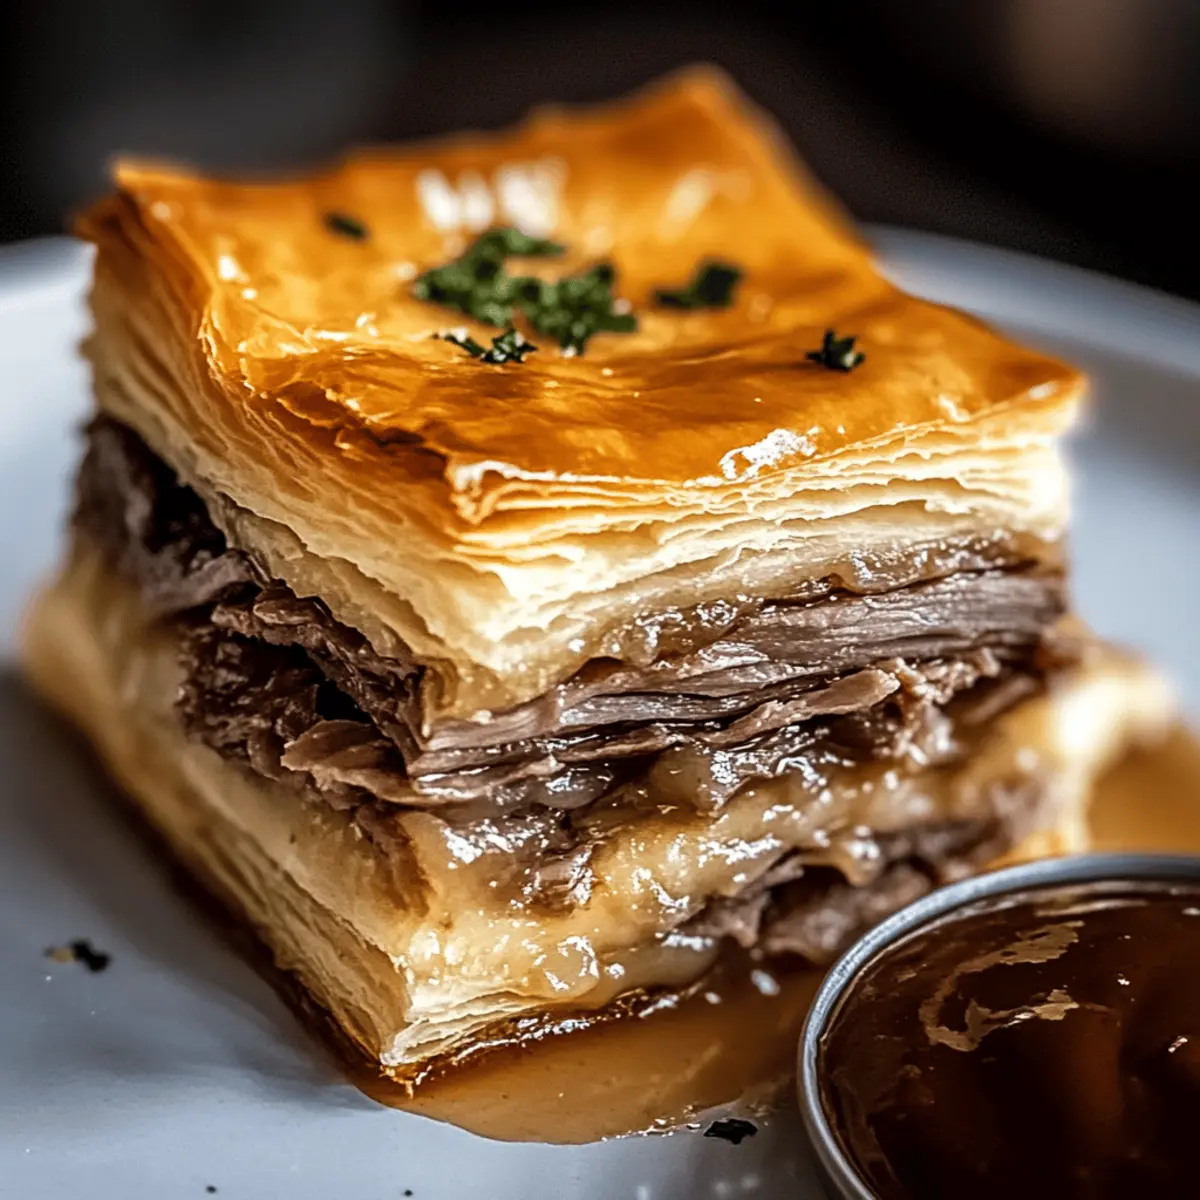
As I pulled my French Dip Squares out of the oven, the mouthwatering aroma enveloped my kitchen, drawing everyone in like a warm hug on a chilly evening. This delightful twist on the classic French Dip sandwich features layers of flaky crescent roll dough, savory deli roast beef, and gooey Swiss cheese, delivering comfort in every bite. What’s more, these Easy French Dip Squares are not just a feast for the senses—they’re also a breeze to prepare and perfect for sharing at your next gathering. With a rich beef broth dipping sauce on the side, each square promises a satisfying texture and taste that will have everyone coming back for more. Ready to bring some warmth to your dinner table? Let’s dive into this irresistible recipe!

Why are French Dip Squares so irresistible?
Shareable Delight: Perfect for gatherings, these French Dip Squares will have everyone reaching for seconds.
Flavor Fusion: Combining savory roast beef and gooey Swiss cheese, this dish creates a mouthwatering experience everyone’s craving.
Easy to Prepare: Minimal prep time means more fun with friends and family—just assemble, bake, and enjoy!
Versatile Variations: Feel free to swap in your favorite cheeses or add sautéed mushrooms for a personal touch.
Dipping Perfection: The accompanying beef broth offers that authentic French Dip experience, making each bite a warm hug!
For additional comforting recipes, try out some Cinnamon Roll French Toast or a tasty Paprika Feta Dip to complement your meal.
French Dip Squares Ingredients
For the Dough
• Crescent Rolls – A buttery, flaky crust that bakes quickly and is easy to work with. Can try puff pastry for a more indulgent base.
• Butter – Adds richness and balance to the flavors, use unsalted for better seasoning control.
For the Filling
• Deli Roast Beef – The main protein source bringing a tender, savory bite; can swap with turkey or ham for a lighter option.
• Swiss Cheese – Melts beautifully, complementing the beef without overpowering it; cheddar or provolone can be used for different flavors.
• Dry Onion Soup Mix – Infuses depth and savory, onion-forward notes; use a homemade mix with sautéed onions if desired.
• Worcestershire Sauce – Enhances savory taste and adds complexity.
• Garlic Powder – Provides an extra layer of flavor that enhances the dish.
For Dipping Sauce
• Beef Broth – Offers that authentic French Dip experience; can opt for low-sodium broth if watching salt intake.
With these essential French Dip Squares ingredients, you’re just a few steps away from serving up a deliciously comforting dish that will delight your guests!
Step‑by‑Step Instructions for French Dip Squares
Step 1: Preheat the Oven
Begin by preheating your oven to 375°F (190°C) and preparing a 9×13 inch baking dish. Spray the dish with non-stick cooking spray to prevent the French Dip Squares from sticking. This initial step ensures your oven is hot enough to achieve a golden-brown crust by the end of baking.
Step 2: Prepare the Dough Base
Unroll one can of crescent rolls and lay the dough flat in the prepared baking dish, pressing the seams together to create a solid base. This forms the bottom layer for your French Dip Squares, which will cradle the delicious filling you’re about to add. Ensure it covers the bottom evenly for uniform baking.
Step 3: Layer the Filling
Evenly distribute the deli roast beef over the dough base, arranging it to cover all corners. Next, sprinkle a generous layer of grated Swiss cheese on top of the beef. This combination provides the savory heart of the French Dip Squares and offers a beautiful gooey texture once baked, making it extra enticing.
Step 4: Prepare the Sauce Mixture
In a small bowl, mix together the dry onion soup mix, melted butter, Worcestershire sauce, and garlic powder until smooth. Drizzle this flavorful mixture evenly over the cheese layer, ensuring that each bite of the French Dip Squares will be infused with its rich flavor profile.
Step 5: Add the Top Dough Layer
Unroll the second can of crescent rolls and lay the dough over the filling, pinching the seams to seal it together. This top layer should cover the filling completely, creating a lovely golden crust when baked. Pat down lightly to ensure a good seal, which will help keep the filling intact while cooking.
Step 6: Bake
Carefully place the assembled French Dip Squares in your preheated oven. Bake for 15-20 minutes, or until the topping is a deep golden brown and the dough is cooked through. Keep an eye on it towards the end to avoid over-baking; a perfectly baked crust should look inviting and flaky.
Step 7: Prepare Dipping Sauce
While the French Dip Squares are baking, heat the beef broth in a small pot over medium heat. Stir occasionally until it’s warmed through. This rich dipping sauce perfectly complements the savory squares, enhancing the overall flavors and providing the authentic French Dip experience.
Step 8: Cool and Cut
Once baking is complete, remove the dish from the oven and let the French Dip Squares cool for 5-10 minutes. This cooling period makes it easier to cut cleanly into squares without spilling the delicious filling. Allowing it to rest also helps set the layers, enhancing the overall texture.
Step 9: Serve
Carefully cut the cooled French Dip Squares into squares and arrange them on a serving platter. Serve alongside the warmed beef broth, inviting everyone to dip their squares for an extra touch of flavor. Enjoy this delightful dish that’s perfect for sharing and destined to please.

Make Ahead Options
These French Dip Squares are perfect for meal prep! You can assemble the dish up to 24 hours in advance, covering it tightly with plastic wrap to keep it fresh. Simply assemble as instructed but stop before baking. When you’re ready to serve, preheat your oven and bake the French Dip Squares directly from the refrigerator, adding 3-5 extra minutes to the bake time for even cooking. If you prefer to prep further ahead, you can freeze the assembled dish for up to 3 months; just thaw overnight in the refrigerator before baking. This way, you’ll have a delicious meal ready any day—just as comforting and flavorful as when you made it fresh!
How to Store and Freeze French Dip Squares
Room Temperature: Keep any leftover French Dip Squares covered at room temperature for up to 2 hours. For longer storage, move to the fridge to maintain freshness.
Fridge: Store the French Dip Squares in an airtight container in the refrigerator for up to 3 days. Reheat in the microwave or oven for the best flavor and texture.
Freezer: Freeze unbaked assembled squares wrapped tightly in plastic wrap and aluminum foil for up to 2 months. Thaw overnight in the fridge before baking, adding a few extra minutes to the baking time.
Reheating: When reheating leftovers, place squares in a preheated oven at 350°F (175°C) for 15-20 minutes until warmed through for optimal flavor retention.
French Dip Squares Variations & Substitutions
Feel free to get creative with your French Dip Squares for unique flavors and textures that celebrate your tastes!
- Dairy-Free: Use dairy-free cheese alternatives to keep the dish creamy without lactose.
- Gluten-Free: Substitute gluten-free crescent rolls or puff pastry for a gluten-free option that doesn’t skimp on flavor.
- Bold Flavors: Add sliced jalapeños or pepper jack cheese for a spicy kick that awakens the taste buds.
- Veggie Boost: Include sautéed bell peppers or spinach in the filling for added nutrients and vibrant color.
- Herb Infusion: Mix in fresh herbs like thyme or rosemary into the sauce for an aromatic twist, elevating the overall flavor experience.
- Savory Sauce: Swap beef broth for homemade vegetable stock to create a lighter, vegetarian-friendly dipping sauce.
- Double the Cheese: If you’re a cheese lover, layer extra cheese in between the filling and the top crust for irresistible gooeyness.
Exploring variations adds an exciting twist to this already delightful dish! Pair these squares with a refreshing Green Salad or a warm Paprika Feta Dip for a complete meal sure to delight your guests!
Expert Tips for French Dip Squares
Seal the Seams: Ensure the crescent rolls are well pinched at the seams to prevent filling from spilling during baking.
Rotate for Evenness: Rotate the baking dish halfway through the baking time for evenly golden-brown squares.
Cool First: Allow the French Dip Squares to cool for 5-10 minutes before slicing for clean cuts and to prevent messy spills.
Flavor Boost: For additional richness, consider adding sautéed onions or mushrooms to the filling for enhanced depth.
Watch the Bake Time: Keep an eye on the baking squares; overcooking can lead to a dry texture. Enjoy your perfect French Dip Squares!
What to Serve with French Dip Squares
The delightful flavor combination of French Dip Squares creates a warm and inviting meal that’s perfect for sharing, and it pairs beautifully with a range of sides.
-
Crispy French Fries: The salty crunch of fries complements the savory beef and gooey cheese while adding a delightful texture contrast. Dipping them into the beef broth is a match made in comfort food heaven.
-
Simple Green Salad: A fresh salad with mixed greens and a zesty vinaigrette introduces a refreshing element, balancing the richness of the French Dip Squares. It’s a light counterpart, keeping your meal satisfying yet not overwhelming.
-
Garlic Breadsticks: Golden, buttery breadsticks radiate warmth and flavor, making them a cozy addition to your meal. Perfect for dipping in the savory broth, they add another layer of indulgence to the dining experience.
-
Coleslaw: The crunch and slight tang of coleslaw offers a delightful contrast to the creamy cheese and tender beef. It’s a great way to introduce a bit of crisp freshness to each bite.
-
Roasted Vegetables: A side of roasted seasonal vegetables, such as carrots and zucchini, brings vibrant colors and nutrients to the table, enhancing the meal’s visual appeal while keeping it wholesome.
-
Creamy Mashed Potatoes: These buttery, rich mashed potatoes create a perfect pairing, ensuring a comforting, hearty meal. They invite you to savor every bite, particularly when soaked in the delicious beef broth.
-
Sparkling Lemonade: To wash it all down, a glass of fizzy lemonade adds a refreshing, citrusy sparkle that brightens each bite. Its light sweetness complements the savory elements wonderfully.
-
Chocolate Fondue: End on a sweet note with a warm chocolate fondue for dessert, offering a delightful finish to this cozy meal. Pairing the salty with the sweet creates a beautifully balanced dining experience.

French Dip Squares Recipe FAQs
How do I choose the best crescent rolls for my French Dip Squares?
Absolutely! When selecting crescent rolls, look for a brand that guarantees dough freshness. Ensure the packaging is intact and without any bulges or dark spots, indicating freshness. These small details can significantly impact your recipe’s outcome, providing that beautiful flaky texture essential for your French Dip Squares.
How long can I store leftover French Dip Squares?
Very! You can keep leftover French Dip Squares in an airtight container in the refrigerator for up to 3 days. To maintain their delightful texture, I recommend reheating them in a preheated oven at 350°F (175°C) for about 15-20 minutes, which helps restore that lovely, crispy crust.
Can I freeze French Dip Squares?
Absolutely! You can freeze unbaked assembled French Dip Squares. Simply wrap them tightly in plastic wrap and then in aluminum foil to protect them from freezer burn for up to 2 months. When you’re ready to bake, thaw them overnight in the refrigerator, and simply add a few extra minutes to the baking time to achieve that perfect golden crust.
What should I do if my crescent rolls fall apart during baking?
Oh no! If your crescent rolls spill their filling, it might be due to not pinching the seams tightly enough. To avoid this in the future, ensure the edges are sealed well before baking. If spillage occurs, don’t worry! Simply use a spatula to press the filling back into place. It’ll still be deliciously comforting!
Are there any dietary considerations for this dish?
For sure! If you have concerns about sodium intake, opt for low-sodium beef broth or consider using lean turkey for a lighter filling. Additionally, always check your cheese selection for allergens if serving to guests with dietary restrictions. You can also make it vegetarian by using sautéed mushrooms in place of the roast beef for a scrumptious alternative.
How long do I need to let the French Dip Squares cool before cutting?
Great question! Allow your French Dip Squares to cool for about 5-10 minutes after baking. This resting time not only makes it easier to cut clean squares, but it also helps the flavors meld beautifully, giving you a delightful bite every time!

Savory French Dip Squares Perfect for Cozy Gatherings
Ingredients
Equipment
Method
- Preheat your oven to 375°F (190°C) and spray a 9×13 inch baking dish with non-stick cooking spray.
- Unroll one can of crescent rolls and lay the dough flat in the prepared baking dish, pressing the seams together to create a solid base.
- Evenly distribute the deli roast beef over the dough base, then sprinkle a layer of grated Swiss cheese on top.
- In a small bowl, mix the dry onion soup mix, melted butter, Worcestershire sauce, and garlic powder until smooth, then drizzle over the cheese layer.
- Unroll the second can of crescent rolls and lay the dough over the filling, pinching the seams to seal.
- Bake for 15-20 minutes, or until golden brown and cooked through.
- While baking, heat the beef broth in a small pot over medium heat.
- Once baking is complete, cool for 5-10 minutes before cutting into squares.
- Serve the squares with the warmed beef broth for dipping.

Leave a Reply